
Sebastian House Tour (Budget Flip)


Over the past four years, we've refinished almost every surface of our home. While it’s been a lot of work, it’s also been an exciting journey discovering budget-friendly options for every room. When we moved into our first house, we knew there would be some serious work to do. But, as with most home projects, we ended up tackling a lot more than we originally anticipated.
Since we didn’t have much extra money when we bought the house, we had to get creative with our renovations. Four years later, I can confidently say that we've completed most of the major updates we had in mind. It feels amazing to be at a place where there are no big projects hanging over our heads. Below, I’ll walk you through the renovations we’ve done, share some before-and-after shots, and break down the general costs involved.
Kitchen Updates
BUDGET: $5,500
We allocated the largest portion of our renovation budget to the kitchen, as it turned out to be one of the rooms that needed the most work. Originally, I had planned to simply refinish the cabinet doors. However, once we moved in, we quickly realized that the cabinets were in much worse shape than we'd anticipated. To make matters worse, we discovered mold behind the lower cabinets. So, we made the decision to completely gut the kitchen and install new cabinets.
In hindsight, it was definitely the right call. Not only did we get rid of the mold issue, but we were also able to reconfigure the layout to make the kitchen more functional and efficient. We chose basic custom cabinets from Lowe's for $4,500, which offered the best balance of quality and affordability.
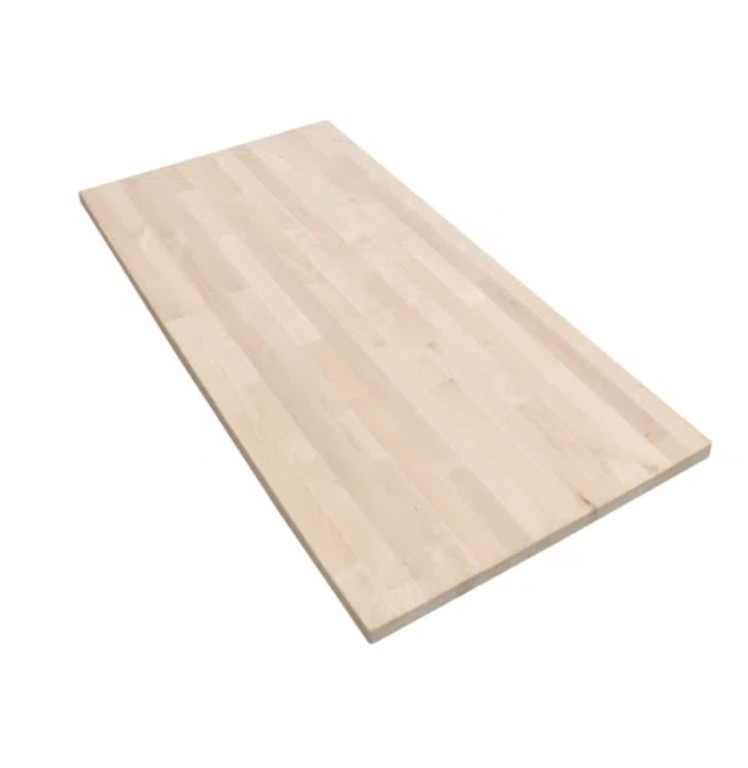
For the countertop, we went with a butcher block from Menards ($300), which added a warm, natural touch to the space. For the backsplash, we opted for classic white subway tile with dark grey grout, also from Menards ($200). To make the installation easier, we used MusselBound Adhesive Tile Mat, so we didn’t have to deal with mixing or spreading mortar.
Finally, for the flooring, we chose Lowe’s Grecian Marble Peel and Stick tiles ($300). They were incredibly easy to install, and I absolutely love how everything turned out.


Before

After
Living Room Updates
BUDGET: $1,700
The living room updates were relatively simple, but they made a big impact. We started by painting all the walls with Sherwin Williams’ Pure White and Attitude Grey ($100), which brightened up the space instantly. We also added a fun accent wall ($100), and because the room can sometimes feel a little dark, the white accent wall made it feel so much lighter and more open. For the flooring, we installed new Marvino Hickory floors from Lowe’s throughout most of the house, which cost us a total of $1,500. Since the living room is the largest space, we included the full cost of the floor installation in our living room renovation budget.
Full transparency: we originally tried to refinish the hardwood floors ourselves, but it was a total disaster! After a couple of years, we decided to just bite the bullet and lay down new engineered wood floors. I’m so glad we did. Not only are they incredibly durable, but they’re also super easy to clean and maintain.


Before

After
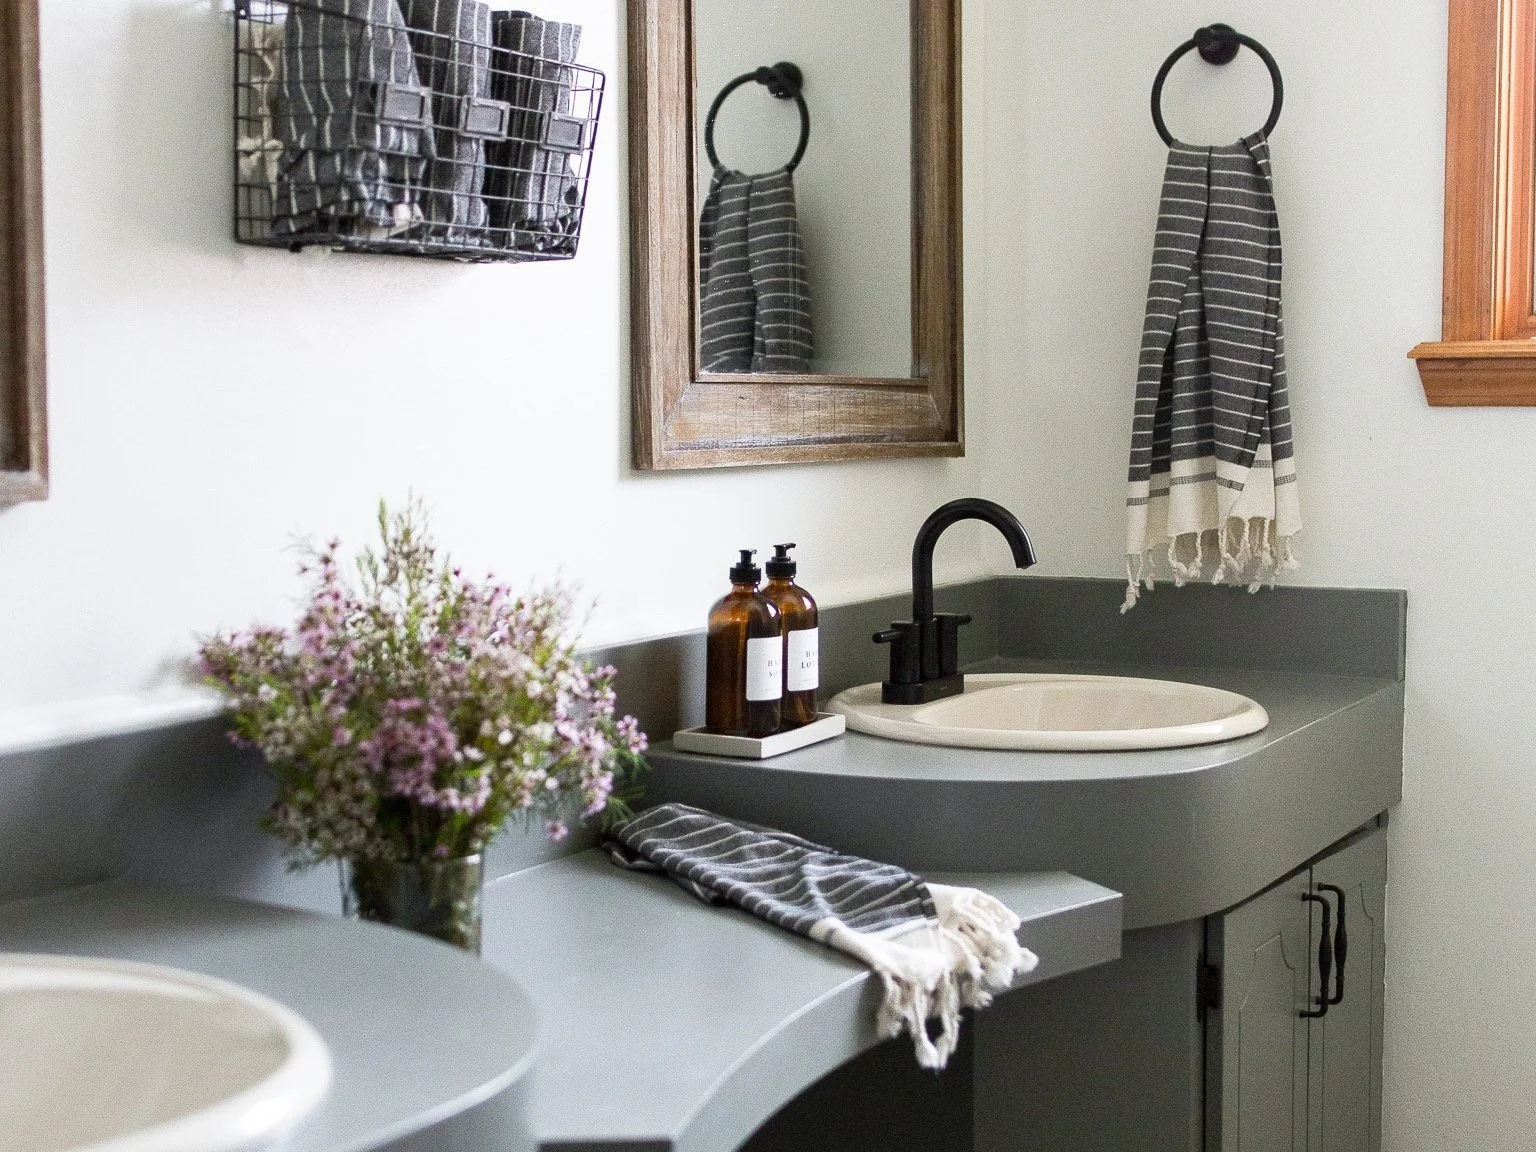
Main Bathroom Updates
BUDGET: $1,100
Our main bathroom renovation was a fun and relatively straightforward project. We started by painting the vanity with Sherwin Williams Armitage Grey—the primer and paint came to about $100. Next, we replaced the faucets with new ones from Lowe’s ($200) and updated the light fixtures and mirrors. Unfortunately, both of those items are no longer sold, but they cost around $200 in total.
For the floors, we went with Lowe’s peel-and-stick tiles and grout ($100). By grouting the tiles, we were able to make the floor completely waterproof, which was a big win for durability.
Finally, we had a local company, Surface Solutions, refinish our tile bathtub. We had this done about four years ago for around $500, though I believe the price has gone up since then. If you're looking for this type of service, search for “bathtub refinishing companies” in your area—most cities have specialists who can do this.

Before

After
Fireplace Room updates
BUDGET: $300
Aside from redoing the floors, we didn’t have to spend much to renovate our fireplace room. This space is a perfect example of the transformative power of paint. We painted all the walls and the brick around the fireplace with Sherwin Williams Pure White. Honestly, painting the brick was one of the best decisions we made for this room—it completely brightened everything up and gave the space a fresh, modern feel.


Before

After